1. Project Management
The "Projects" module provides a convenient tool for managing and tracking projects within your workspace. You can create and structure tasks, define project goals, allocate its budget, track KPIs, and collaborate effectively with your team.
In general, the "Projects" module allows you to edit descriptions and goals, view all tasks associated with a single project, add and remove team members, search for tasks using filters, and sort them by priority or status.
2. Creating a Project
-
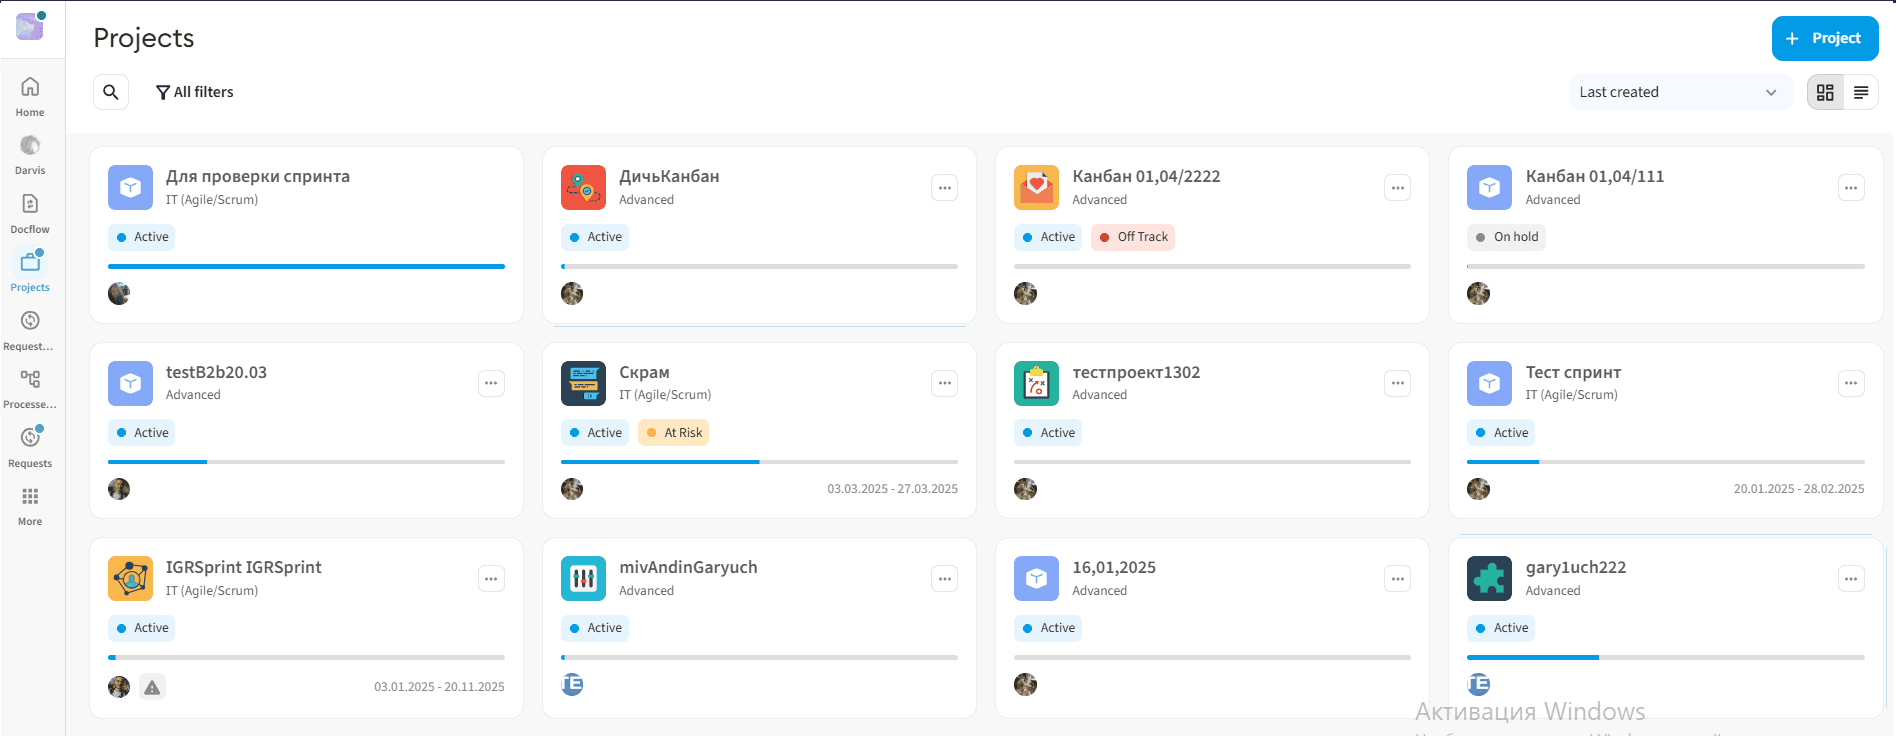
Navigate to the "Projects" section and click the "+ Project" (or "Create Project") button in the top right corner.
-
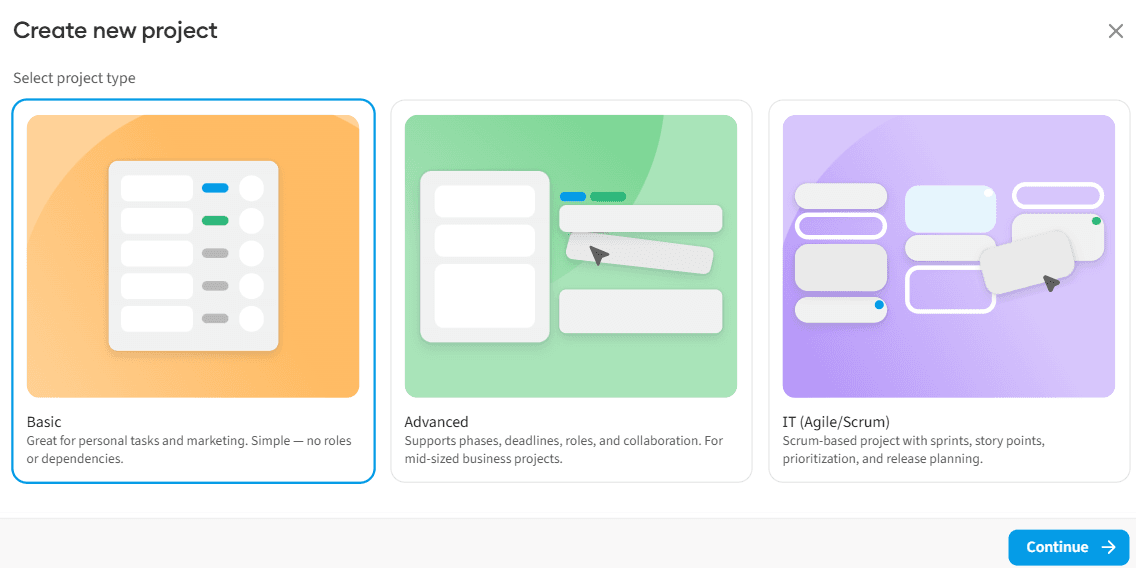
In the window that appears, select the required project type:
- Basic — for personal tasks and simple processes
- Advanced — for teamwork with goals, roles, and deadlines
- IT (Scrum/Agile) — for product and IT teams, featuring sprints, story points, and releases.
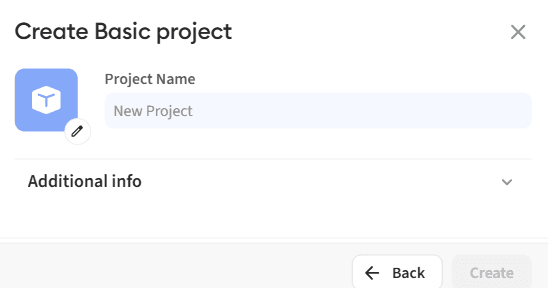
- Enter the Project Name (required field).
- Click the "Create" button.
3. Project Overview
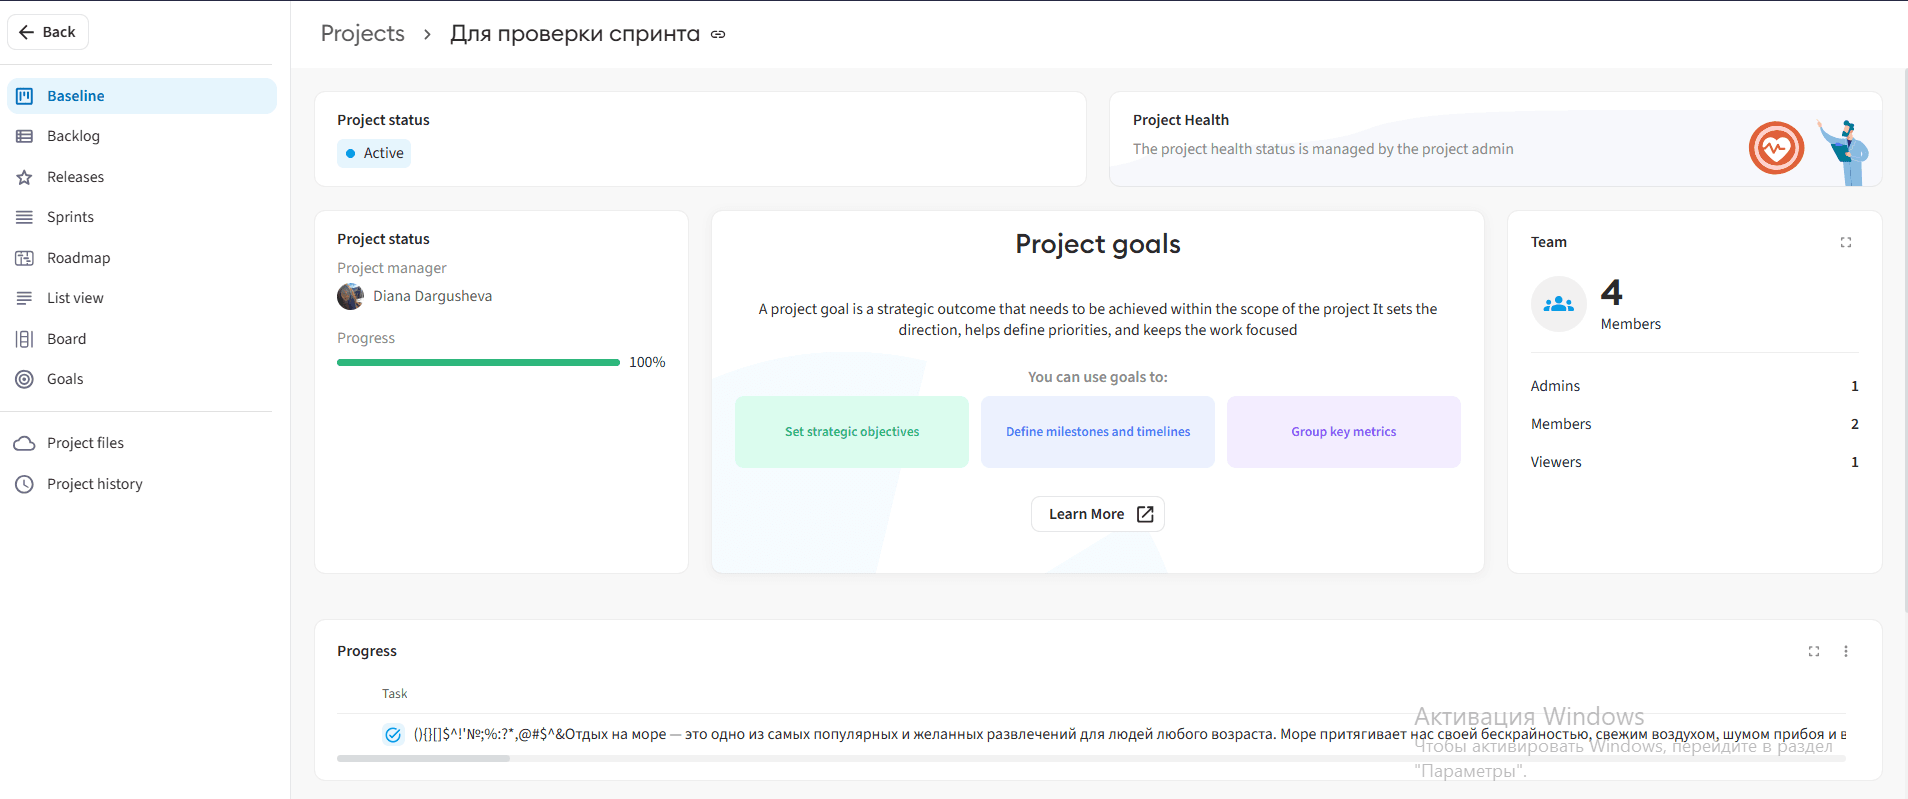
Every created project includes an "Overview" tab, which aggregates all key analytics and summary information:
- Brief description and current project status.
- Project details
- Goals and key performance indicators (KPIs)
- Team composition
- Statuses of work items.
4. Project Settings
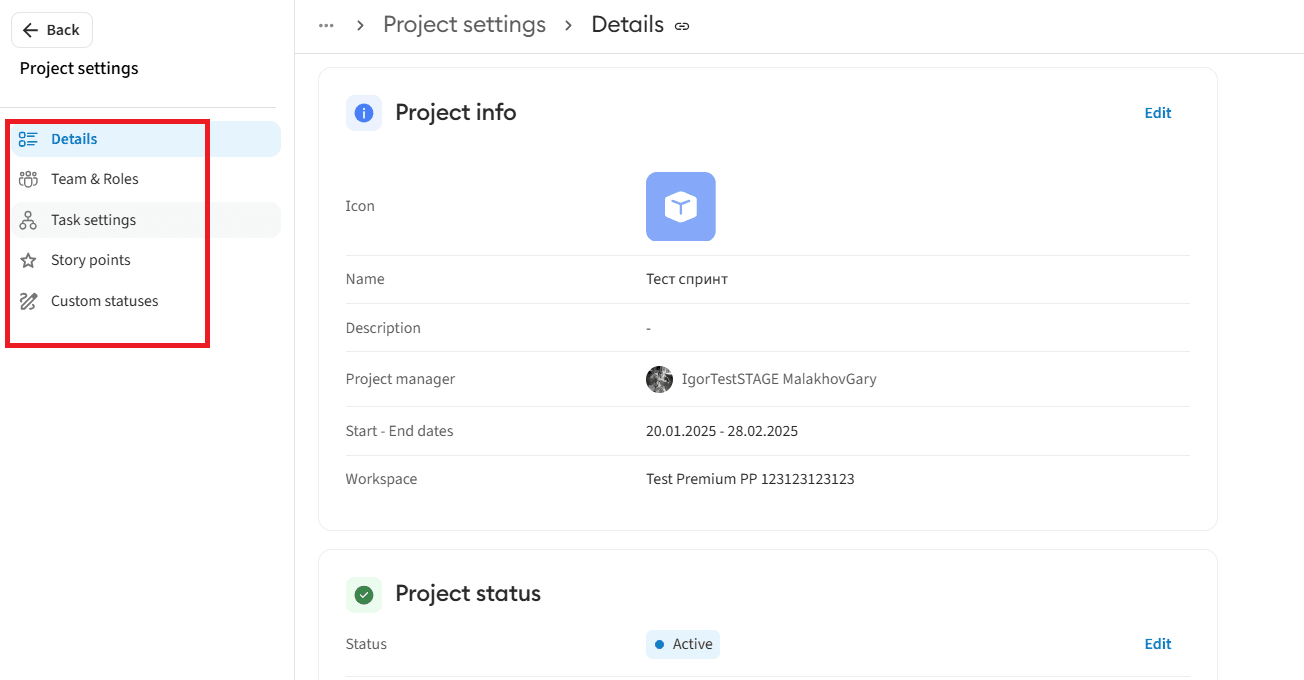
Each project can be customized in the "Project Settings". Here you can adjust the following elements:
● Project Details: Change its icon, name, description, project manager, and start/end dates.
● Project Goals: Define project goals and display them on the "Overview" dashboard. Each goal must have a completion date.
● Team and Roles: Invite employees to collaborate on project tasks, assign them roles, or remove members from the team.
● Task Types: Edit task levels, their hierarchies, and icons.
5. Backlog
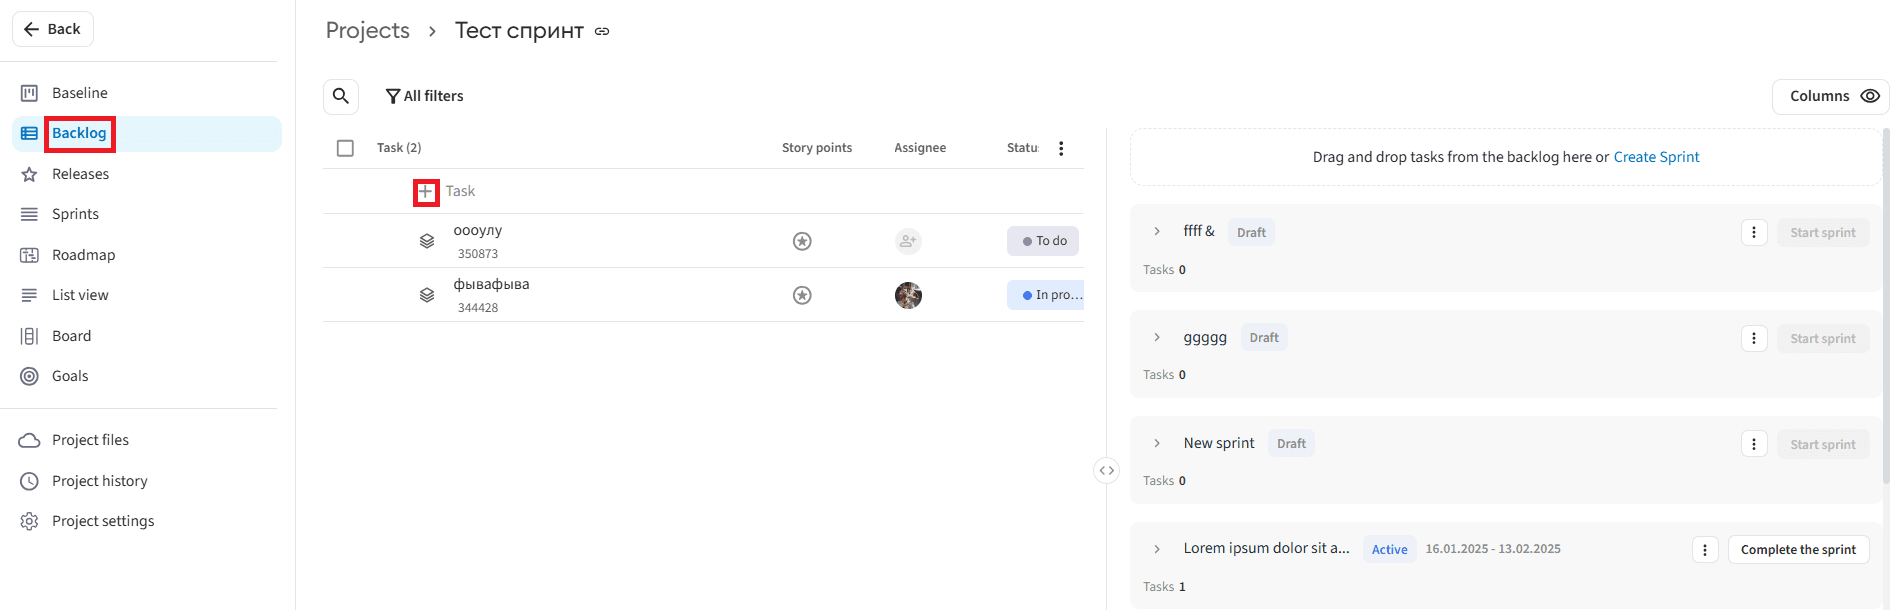
A Backlog is a structured list of all tasks that need to be completed within the project. After creating a project, all new tasks are accumulated in this section by default.
In the backlog, users can:
- Create new tasks.
- Add existing tasks to a sprint.
6. Creating a Sprint
Sprints are short phases that help the team organize and iterate on their work efficiently.
How to launch a sprint:
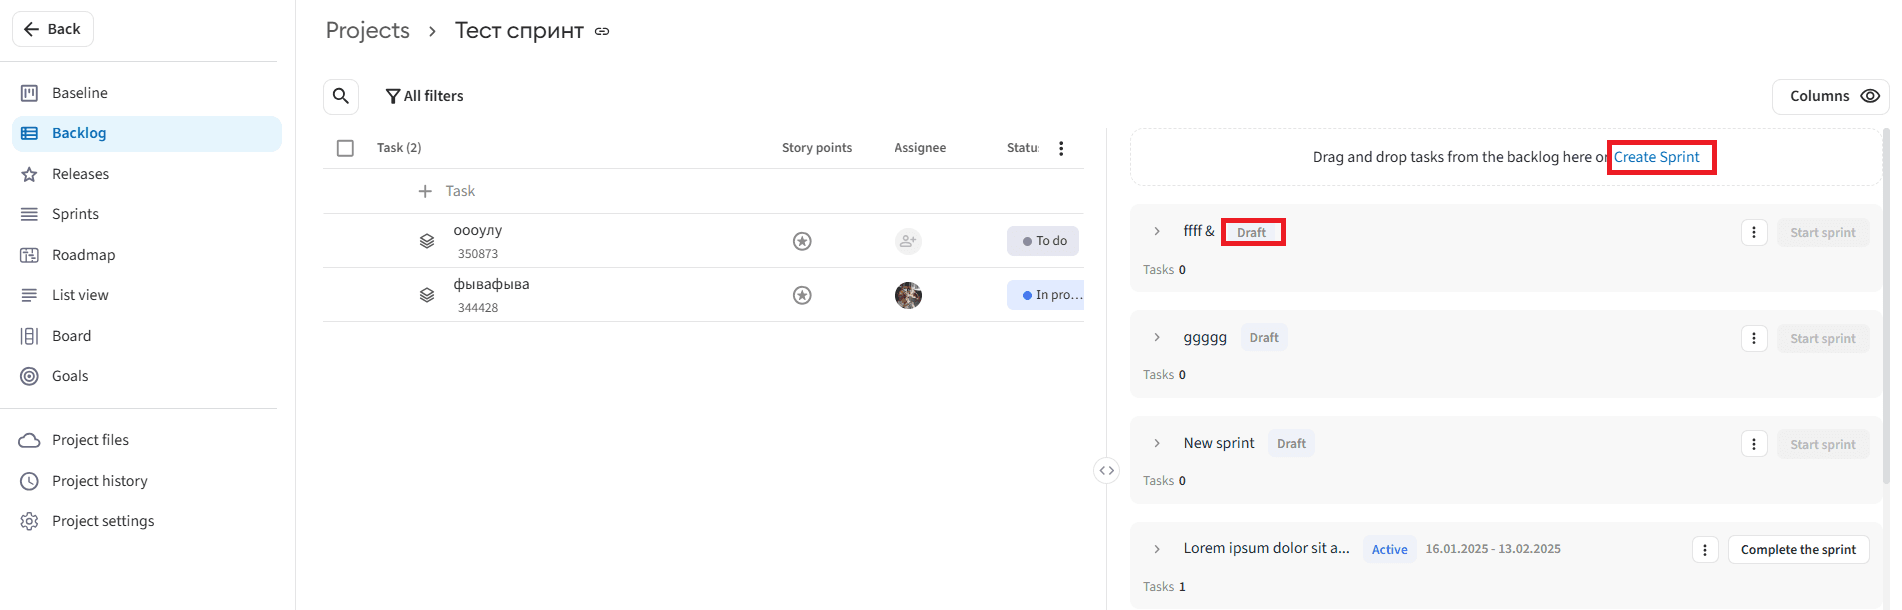
- Go to the project backlog and click the "Create Sprint" button. By default, the new sprint is created in the «Draft» status.
- Move tasks from the backlog into the created sprint using the Drag-and-Drop function or the "Move" button.
- Click the "Start Sprint" button and fill in the parameters in the modal window:
- Sprint Name
- Duration period (exact start and end dates)
- Description (optional)